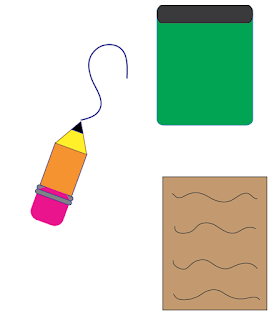
This week in graphic design we had to make our own pencil. It was all base in the mood of going back to school. Our assignment was to draw three things on Adobe Illustrator. We had to draw our own basic, colorless pencil. After that, we got the chance to make our own pencil that we can make any size and color. With the pencil we could draw three other objects next to it. The third thing we did on Adobe Illustrator was to draw what we could draw on our own designed pencil.

This is the pencil I designed. I made it seem like any other pencil. Basic. Next to the pencil I drew and pencil cup and a piece of paper. I used the color and I adjusted the colors to make it look realistic like the real objects. There are two other objects I made with the pencil and the other one I count is the squiggle line the pencil made.
This is the first pencil I made. The pencil as you can see has no color and it had to be a certain size. Since it has no color you can see that it wasn't just two rectangle and a triangle I used to make the pencil. I made two rectangle and adjusted them to the size they are supposed to be. The rectangles make up the body of the pencil. I used the rounded rectangle tool to make the eraser. I then made two triangles. One for the led and the other to make the end of the pencil. The shapes were all adjusted using by either changing the width and height or pressing on the shape and pressing the option button.
The third thing I had to draw was what I could draw with my designed pencil. I drew a flower. I drew a straight line and curved it. I then drew the petals and duplicated them. I put them all around the flower and angled them the way they are supposed to be facing. I then colored the middle part of the flower yellow and the leaves green with white. The petals are mostly with green on te sides. I then added a companion to the flower. I drew a butterfly since most butterflies are around flowers.


